
Parent guide · 7 min read
Arduino sensors for kids: giving a build temperature, light and distance
A sensor is what turns an Arduino from a board that blinks lights into a build that notices the world: a room that is too warm, a corner that has gone dark, a hand that gets close. Most kits ship with a handful of them, and most children plug one in, see a stream of numbers, and are not sure what to do next. This guide explains how an Arduino reads a sensor, which three are worth trying first, and how to turn a raw number into something a build can act on.
Try this tonight
5 things you can do at home
Print the raw reading before building anything on it
Wire one sensor and upload a short sketch that prints its value to the Serial Monitor. Seeing a number change as you cover the sensor with a hand or warm it with a finger makes the idea concrete, and it confirms the wiring works before any other part is added.
Test two extremes and write the numbers down
Note the reading in a bright room and a dark one, or with a hand close and far away. The two numbers give your child the range the sensor actually produces in their room, which is more useful than any figure printed on the box.
Pick a threshold between the extremes
If the light sensor reads about 800 in daylight and 150 in the dark, a threshold around 400 is a sensible start. Use an if statement so an LED turns on when the reading drops below it. Then adjust the number until it feels right in that room.
Change one thing at a time when it misbehaves
If the LED flickers near the threshold, widen the gap rather than rewriting the code: turn on below 350 and off above 450. Changing one number and re-testing teaches more than starting the sketch again.
Add a second sensor only after the first one works
Once the light sensor reliably switches an LED, add a distance sensor on a different pin and print both readings. Two inputs in one build is a good next challenge, but only on top of a first one that already behaves.
How an Arduino actually reads a sensor
Many simple sensors, such as a light sensor or a basic temperature sensor, change an electrical voltage. The Arduino reads that voltage on an analog pin using analogRead(), which returns a whole number between 0 and 1023 on a standard Uno-style board. A reading of 0 means close to 0 volts and 1023 means close to 5 volts.
The number is not yet a temperature or a distance. It is a position on a scale, and part of the job is working out what it means for this sensor. Some sensors, such as an ultrasonic distance sensor, work differently: they time a pulse of sound and the sketch converts that time into centimetres. Either way the build begins with a raw value that has to be interpreted.
Three sensors worth trying first
A light sensor (a photoresistor) is the gentlest start. It has two pins, the reading rises and falls with how bright the room is, and the effect is easy to see by covering it with a hand. It leads straight to a night-light project.
A temperature sensor adds the idea of units. The reading has to be converted to degrees using the formula for that particular part, so it is a good chance to see why the number alone is not the answer. Warm the sensor between two fingers and the printed value drifts up within seconds.
An ultrasonic distance sensor is the most satisfying for younger builders, because the response is physical: move a hand closer and the reading falls. It uses two signal pins and gives distances in centimetres once the pulse time is converted, which makes it a natural fit for a "something is getting close" warning.
A worked example: a light-triggered night light
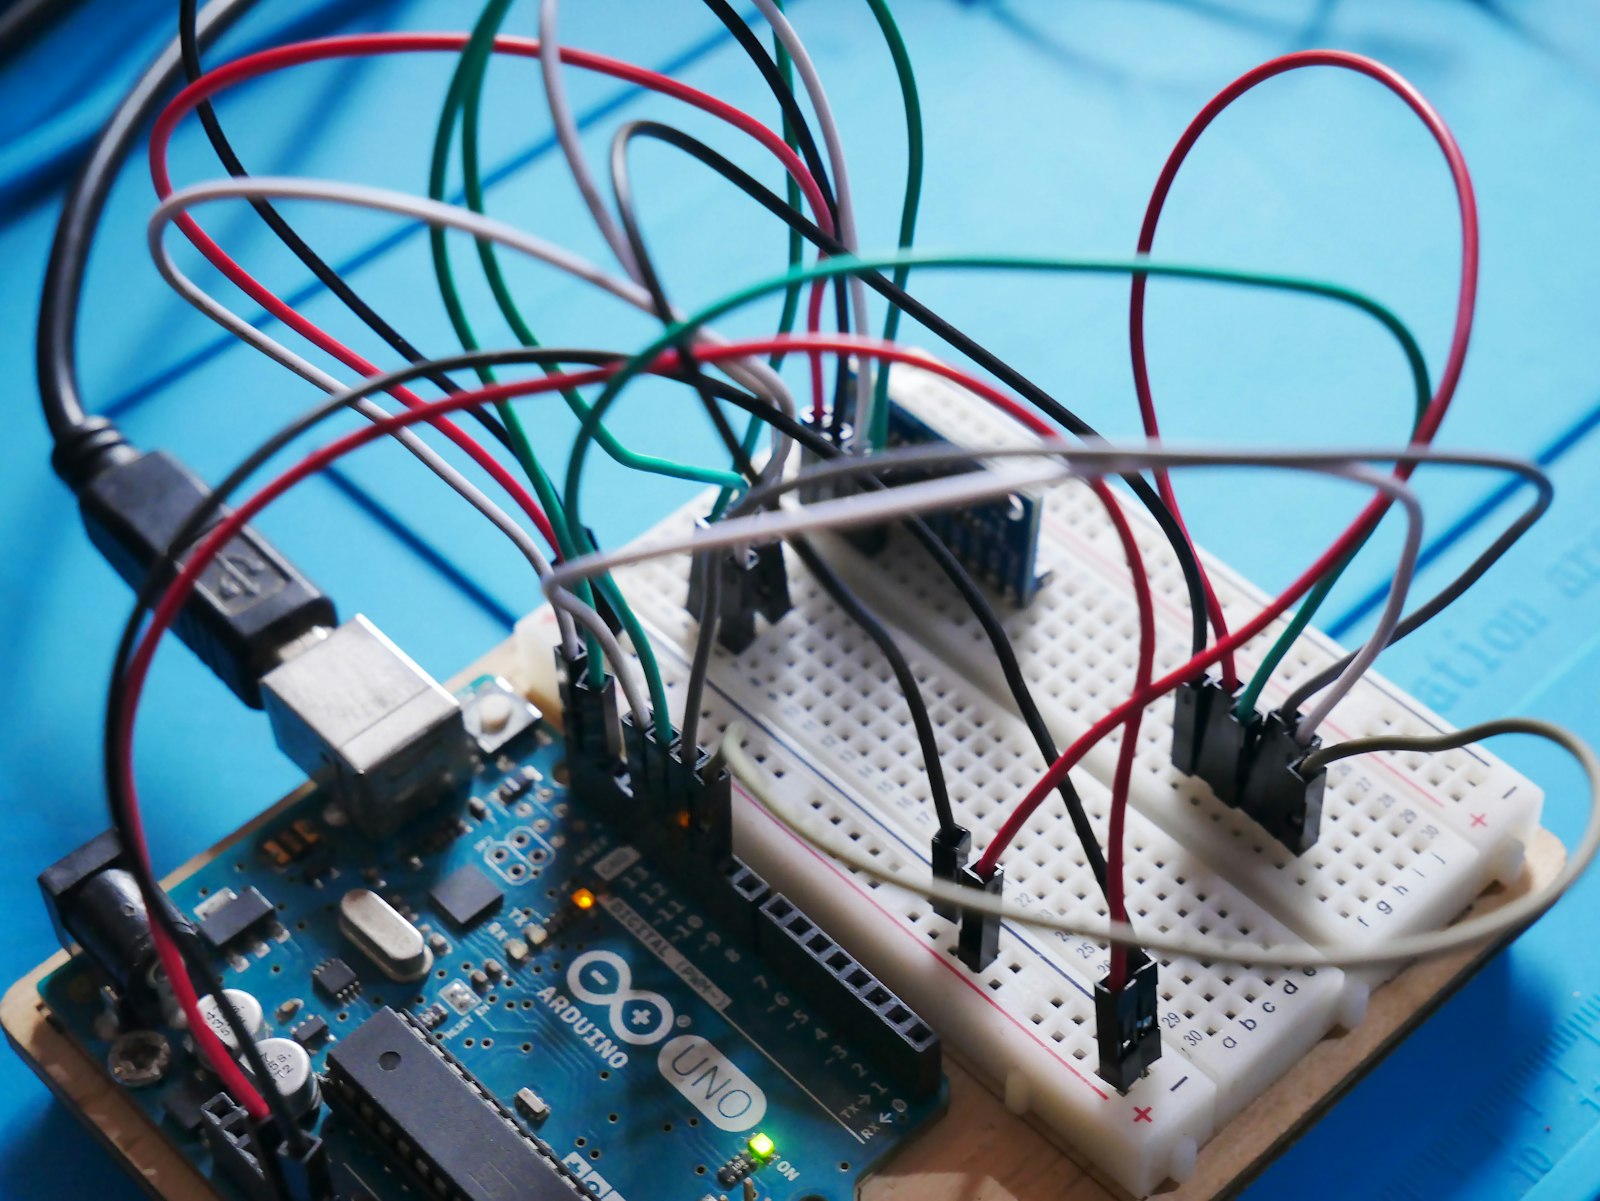
Wire the light sensor to analog pin A0 with the resistor the kit diagram shows, and an LED with its own resistor to pin 9. Print the A0 reading: suppose it shows about 820 in a bright room and about 140 with a hand over it. A threshold of 400 sits comfortably between them.
The decision in code is one line: if the reading is below 400, turn the LED on, otherwise turn it off. Test by covering the sensor, then by shining a torch on it. If the light flickers when the room is dim, use two thresholds (on below 350, off above 450) so a small wobble in the reading cannot flip the LED back and forth.
Why sensor builds go wrong, and the quick fixes
The most common problem is a reading that never changes, which almost always points to the sensor sitting on the wrong pin or a wire not seated in the breadboard. Printing the value first, as in the steps above, shows this within a minute.
The second is a reading that jumps around. Sensors are noisy, and a build that reacts to every small change looks broken. Taking the average of a few readings, or using the two-threshold approach above, calms most of it. Both fixes are sketch changes, not wiring changes, which is a useful lesson in itself.
Signs it’s time for outside help
When home help has done what it can
- Plugs in a sensor but does not know what to do with the numbers it prints.
- Wires and codes a whole sensor project at once and cannot tell which part is at fault when it fails.
- Reads a value that never changes and gives up on the sensor.
- Has outgrown blinking LEDs and buttons and wants builds that react to the room.
- Wants to use two sensors in one project but has no way to plan the wiring or the code.
- Copies a sensor sketch from a kit guide without being able to explain what the threshold number does.
Questions parents ask
FAQ
What is the easiest Arduino sensor for a beginner?
A light sensor (photoresistor) is usually the gentlest. It has two pins, the effect is obvious when you cover it, and it leads to a simple night-light project.
Why does my sensor reading jump around?
Sensors are noisy. Taking the average of a few readings, or using two thresholds (one to switch on and a higher one to switch off), steadies most builds without any rewiring.
What do the numbers from analogRead() mean?
On a standard Uno-style board it returns a whole number from 0 to 1023, a position on a scale from about 0 volts to about 5 volts. What that position means depends on the sensor, so test it at two extremes to learn the range.
Do I need to buy a separate sensor, or is the kit enough?
Most beginner kits include a light sensor and often a temperature and a distance sensor. Try the ones already in the box before buying more.
What age can a child start working with sensors?
Many children manage a simple light-sensor build from around 10 to 11 once a blinking LED and a button are comfortable. The wiring needs patience, but the code is only a few lines.
Further reading
Classes that fit
Live, 50–55 minutes, four learners at most or 1-on-1.
Not sure which is right for your child?
Tell us their age and what they have tried so far, and we will suggest where to start before you book anything.