
Parent guide · 7 min read
Arduino projects for kids: first builds that actually work, by age
Choosing a kit is only the first decision. The second, and the one that actually decides whether a child keeps going, is what they build first. A kit with twenty pre-designed projects can be as discouraging as a blank board if a child starts on project twelve and cannot see why the wiring on the page does what it does. This guide is about the order of projects that actually works, by age and by what has already been built.
Try this tonight
5 things you can do at home
Build the blink first, on its own
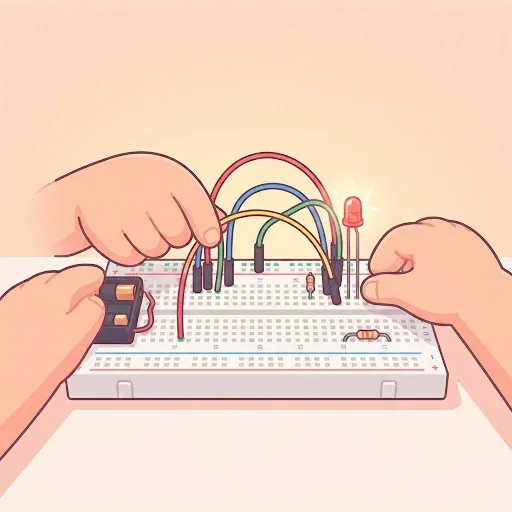
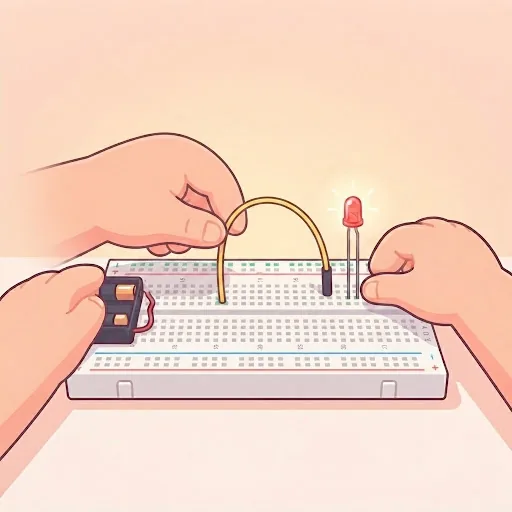
Resist skipping to something more impressive. Making a single LED turn on and off is the smallest possible loop of writing code, uploading it, and seeing hardware respond, and every later project is that same loop with more parts attached. A child who is shaky on this step will struggle with every project built on top of it.
Add exactly one new part at a time
After the blink, add a button that turns the LED on only while pressed. Then swap the button for a light sensor. Each step introduces one new idea (reading an input, reacting to a sensor) without also asking your child to debug several new wires at once.
Let a broken circuit stay broken for a minute
When a light does not turn on, resist fixing it immediately. Ask "what do you think is wrong?" and let your child check the wiring against the diagram themselves first. Debugging a circuit is the actual skill; an instructor or parent who always fixes it removes the only part that transfers to the next project.
Photograph each working build before taking it apart
Parts get reused project to project, which means yesterday’s working circuit gets dismantled to build today’s. A quick photo of the wiring, before or after, turns a pile of loose components back into a record of what your child has actually built.
Save motors for after sensors, not before
A motor needs more current than a microcontroller pin can supply directly, so even a simple motor project usually adds a transistor or a driver board to the wiring. Save it for after a child is comfortable with LEDs, buttons and sensors, where every part connects to a pin directly.
Why the "boring" blink project is worth doing anyway
A blinking LED looks like nothing next to a kit’s box art of a line-following robot, and a child who has seen the box first often wants to skip straight there. The trouble is that the blink teaches the one skill every other project depends on: writing code, uploading it to the board, and reading what actually happened when it runs. Skipping it means learning that skill for the first time in the middle of a much more complicated project, where a mistake is far harder to isolate.
It is also fast. A first blink, wiring included, usually takes under fifteen minutes, which is enough time to feel a real result without losing patience. That quick, complete win is what makes the next, harder project worth attempting.
What actually suits each age band
Around 9–10, the fine motor side of wiring is still the main obstacle, so projects that use few, large components work best: a blinking LED, then two or three LEDs wired as a simple traffic light, controlled by code that changes which one lights up and for how long.
Around 11–13, a child can usually manage a breadboard with several components at once, so the step up is adding an input: a push-button that turns a light on only while held, then a light sensor that switches an LED on automatically once a room gets dark — a genuinely useful first "night light" project.
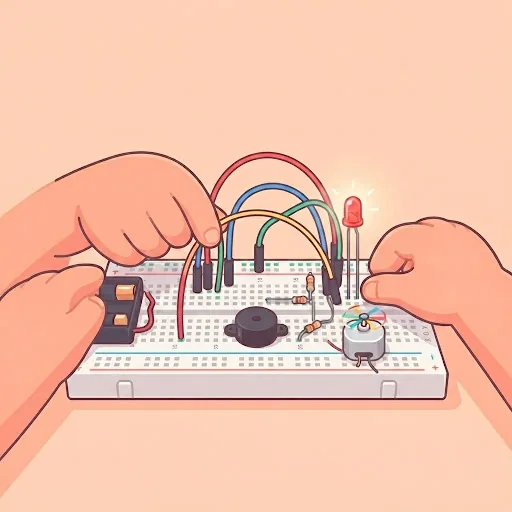
From about 14, a child who has done a few sensor projects is ready to combine more than one input and output in the same build: an ultrasonic distance sensor that sounds a buzzer when something gets close, or a small servo motor that turns to a position set by a sensor reading. These combine everything from the earlier stages rather than introducing something entirely new.
A worked example: from blink to night light
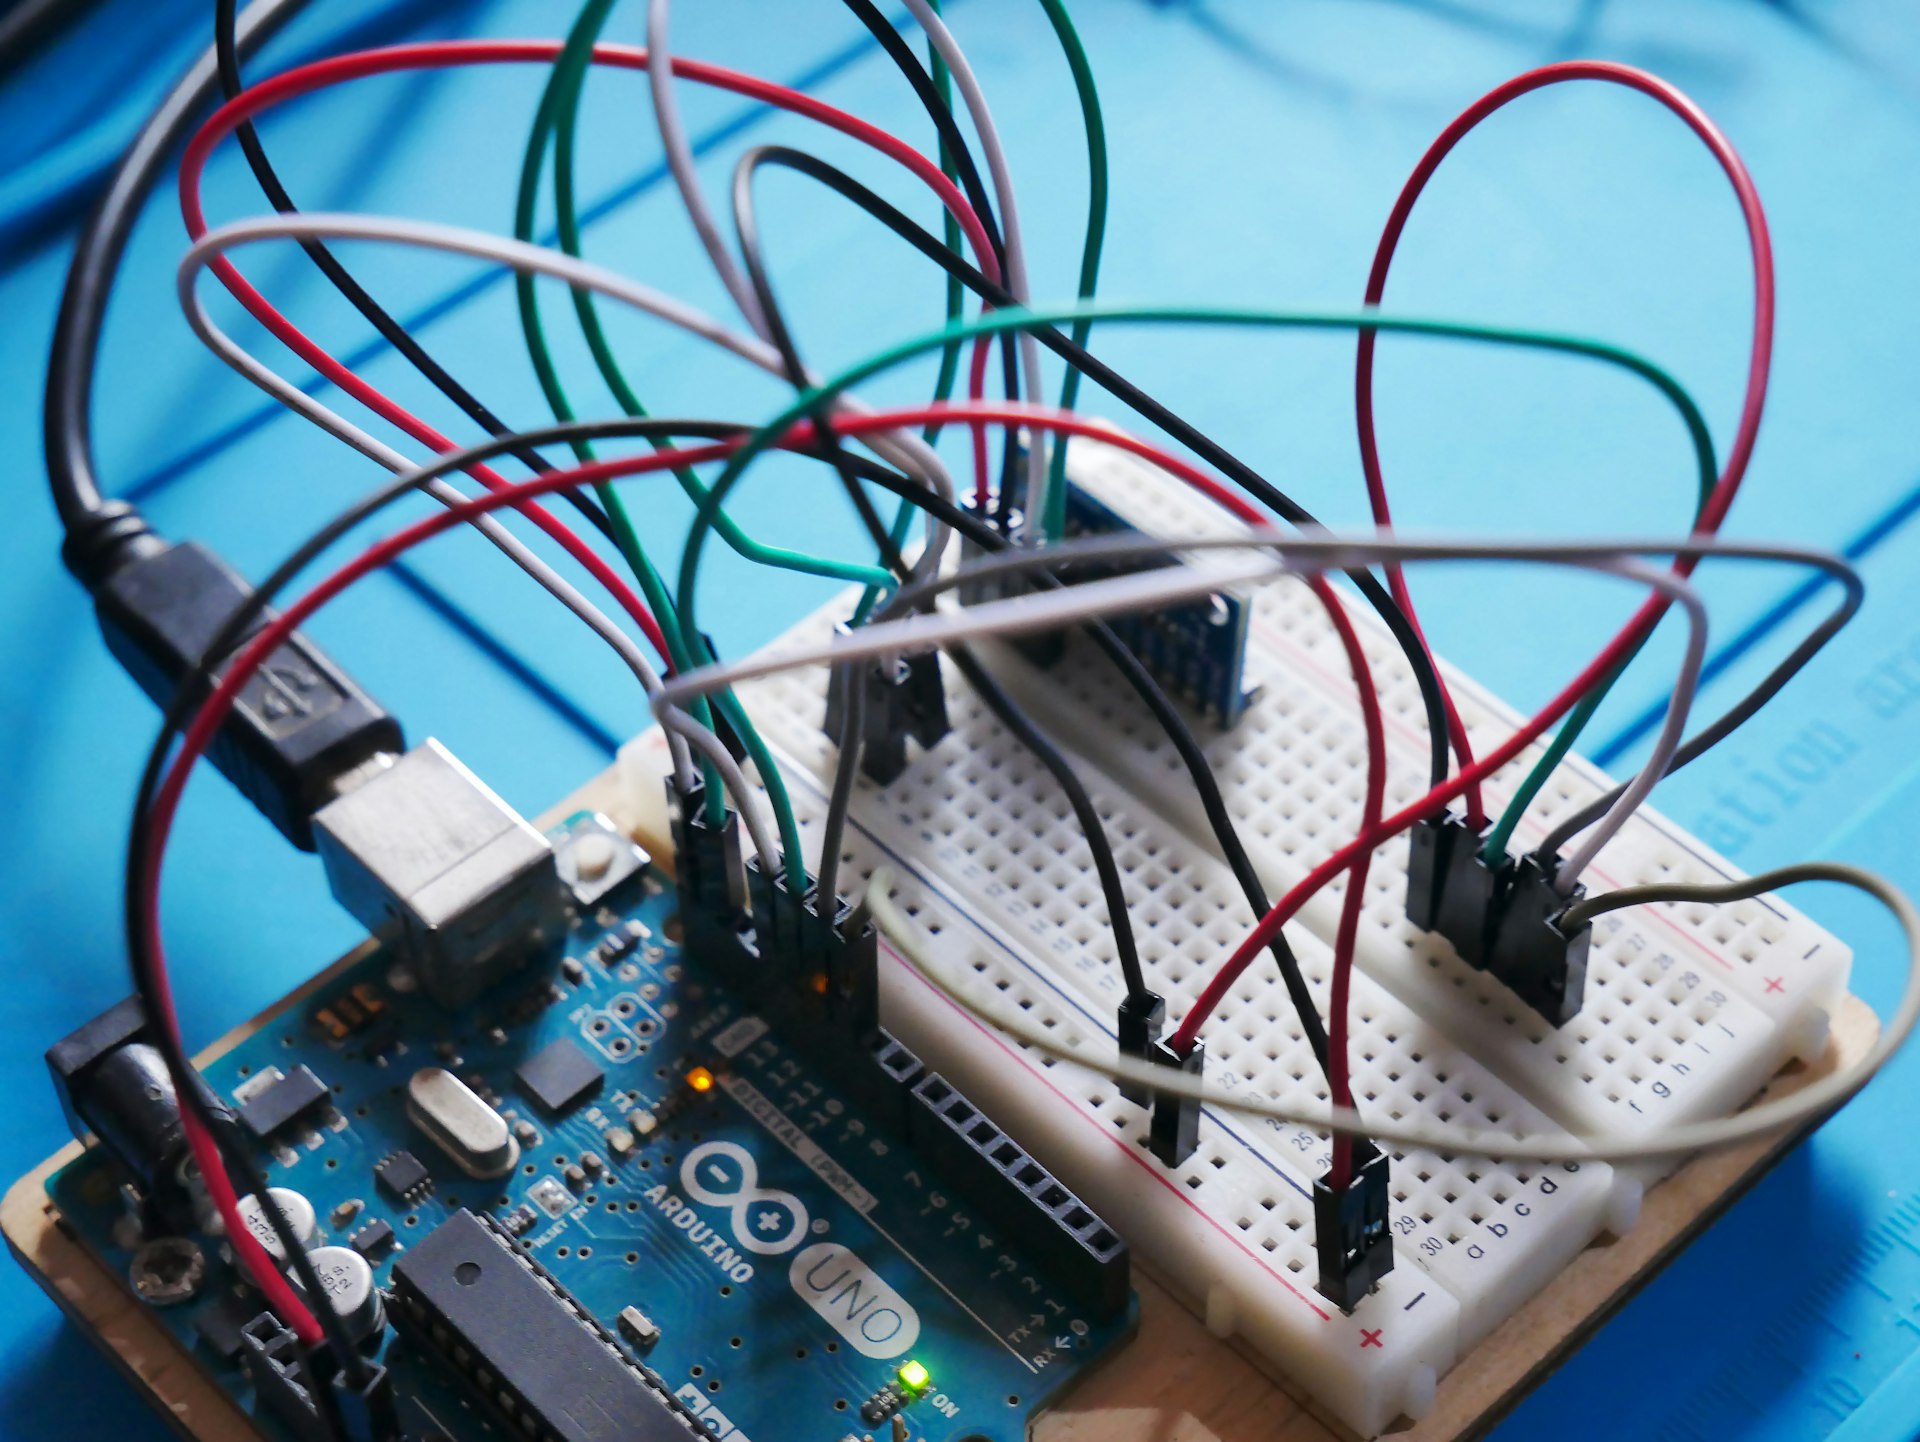
Start with one LED and a resistor: code that turns it on for a second, off for a second, on repeat. Once that works reliably, add a light sensor on a second pin, without changing the LED wiring at all. Change the code so the LED only turns on when the sensor reading is below a certain number, found by testing the sensor in a lit room and a dark one and reading the numbers it reports.
The finished project, an LED that switches on automatically in the dark, looks like a big jump from a plain blink, but it was built as two small, separately-tested steps: get the sensor reading a number, then use that number to decide when the LED should be on. Neither step alone was much harder than the blink.
The mistake that stalls most first projects
The most common way a first Arduino attempt stalls is wiring everything for the finished project before testing any of it. If nothing lights up, there are now five things that could be wrong at once, and untangling which one is genuinely difficult even for an adult.
The fix is testing after every single new wire, not after the whole circuit is built: plug in the LED and confirm the blink still works, then add the sensor and confirm a reading appears, then add the logic that connects them. A project built this way rarely reaches a point where the fault could be more than one new thing.
Signs it’s time for outside help
When home help has done what it can
- Finishes every project in the kit’s printed guide within a weekend and has nothing left to build.
- Avoids the board after one project did not work, because the wiring now feels too fragile to trust.
- Wants to combine two sensors or parts at once but has no way to work out how to wire both together.
- Gets stuck debugging and gives up rather than checking the wiring against the diagram themselves.
- Has outgrown LED and sensor projects and wants to add a motor but is unsure how to wire it safely.
- Keeps rebuilding the exact same demo project rather than changing anything about it.
Questions parents ask
FAQ
What is the very first project to build with an Arduino?
A single blinking LED. It looks basic, but it is the smallest complete loop of writing code, uploading it and seeing hardware respond, and every later project builds directly on that same loop.
Does my child need to know how to solder?
No. Beginner projects use a breadboard, which holds components together with no soldering. Soldering only becomes useful later, for building something permanent rather than testing ideas.
What age can a child start building their own Arduino projects, rather than following a guide exactly?
Most children can start changing a guided project (a different LED pattern, a different sensor threshold) from around 9–10, and design a project mostly on their own from around 12–13, once a handful of guided builds are comfortable.
My child’s project isn’t working even though it matches the diagram. Is that normal?
Very. A loose wire, a component in backwards, or a small typo in the code are the usual causes, and finding them is the actual skill being practised. Checking each new part on its own, as in the steps above, makes the fault much faster to find than staring at the finished circuit.
Should we buy more sensors before finishing the projects we have?
Usually not yet. A child who has only tried one or two sensors gets more from combining what they already have in a new way than from an unopened new part waiting on the shelf.
Further reading
Classes that fit
Live, 60 minutes, four learners at most or 1-on-1.
Not sure which is right for your child?
Tell us their age and what they have tried so far, and we will suggest where to start before you book anything.